Showing posts with label nursery. Show all posts

Tuesday, August 21, 2012

{The Nursery: Closet Makeover}

One of my favorite aspects of Claire's nursery is the massive closet. I mean, how many 9-month old's do you know with their very own walk-in? Not only does it easily accommodate her generous wardrobe, but since we first transformed the room, I've pictured her own little space in there. I've had all sorts of ideas, from a reading nook, to a play area, to a place to play dress-up! I also envision her making forts in there with her siblings one day :) The possibilities are endless and I really wanted to maximize the space.

A few weeks ago as I was packing away the clothes she's outgrown, I decided it was time to make the upgrade. Ultimately, we decided that our biggest need right now was a place to put Claire's toys and a cozy nook to read with her. So we popped on over to Ikea and grabbed a few bins for her smaller toys, a small carpet square for texture and a pop of color, a reading chair (for when she gets older) and of course, these toys I talked about!

And then there was the matter of book shelves I wanted to build to easily store most of her book collection. I found a quick and easy tutorial and my hubby went out and purchased the materials. But then something happened...we made another quick trip to Ikea last weekend and discovered they had basically the exact same ledge-like shelves he was going to make. For only $10 each! (check them out!) Now friends, we are diy-ers all the way, but when you can find, for all functioning purposes, the same thing pre-made for cheaper than you can build it, sometimes it's just worth it! And since we knew our time was limited, we decided that Ikea's shelves were the route to go.

I feel like the shelves really made the most of our space and provided much-needed storage without taking up precious floor space. And the best part, the whole transformation was pretty inexpensive and will easily accommodate any updates as she gets bigger!


Come and take a peek inside Claire's new reading nook/playroom!


Her toys now have a home that isn't the living room or hallway- Yay!!

I've been storing these pillows for a while, knowing they would come in handy at some point! In the future I may sew some new pillow covers, but for now they are perfect for snuggling up and reading to my girl!

I was a little concerned about the height of the bottom shelf as Claire will pull herself up on anything within reach. So hubby made sure to install the extra heavy duty anchors so they wouldn't come out if she used them for standing support (which she already has!).


I love how easily accessible and visible her books are now!


This is where we spend a lot of our indoor playtime these days!

She seems to love her new space :)

Wouldn't you want to play and read here?!
 

Monday, January 9, 2012

{DIY} Headband Storage

Over these past eight weeks, Claire's collection of headbands has multiplied by leaps and bounds! It didn't take long for the basket I was storing them in to completely overflow. And when I could no longer see most of them, I decided it was time for some additional headband storage. Enter my little afternoon project.

I'm quite proud that the inspiration for this little solution was all my own, no Pinterest necessary! All it took was a piece of twine (which I already had), two drawer pulls ($1 at Michaels) and two packages of hot pink, glittered mini-clothes pins ($2.99 for 10 at Michaels). Granted, I could have saved a few bucks and glittered some clothes pins I already had, but I saved myself the time and the glitter mess (since, as we all know, glitter is the herpes of craft supplies!) which was totally worth the extra money!

All in all, I am really happy with the turnout! Three cheers for simple, inexpensive (and not to mention, cute) organization!


Wednesday, October 12, 2011

Nursery: Featured!

Our nursery feature was posted on Baby Lifestyles earlier this week! After two months of putting together the perfect nursery for our little one, we were ecstatic to show family and friends! And with all the time, love and sweat that went into the transformation, Chris and I are so proud of the finished product! So you can imagine how giddy I was to receive an email from Baby Lifestyles asking to feature our nursery! We couldn't be more flattered!

Follow this link to check it out: Nursery Feature

I love Baby Lifestyles

Wednesday, August 31, 2011

The Nursery: Revealed!

It's been two months in the making and our Girl's bedroom is finally complete! So without further ado, allow me to present our Sweet Pea's Nursery!


Most items in our nursery were either refinished by my husband or crafted by me, including the crib skirt, window treatments, fabric banner, nursing pillow cover, hair pretty holder, dresser and side table. It was so worth our time and effort as Baby Girl's room is EXACTLY how I envisioned it!

Of course, there are a few more things we would like to do, but they are certainly not necessities, such as: 

  • Install proper tie backs for the closet curtains {maybe some pretty glass ones that match the dresser pulls?)
  • Cut out and applique fabric letters to the banner so "Sweet Dreams" really pops
  • Build a simple closet organizer to maximize the floor space in that big ole' closet
  • Install crown molding (but we would eventually like to do that in all the bedrooms)

All in all, we are in LOVE! Hope you enjoyed!

Monday, August 29, 2011

Weekend in Photos + A Nursery Teaser

Well my friends, this was a whirlwind weekend. And that is putting it very mildly! We were busy from Friday evening until the wee hours of Sunday night. But it was all worth is, as our Baby Girl's nursery will be revealed this Wednesday!! It is absolutely perfect! In fact, it is officially my favorite room in our house and I keep finding myself sneaking in there just to admire its loveliness:)

But the weekend wasn't all nursery, as we did find a moment for ourselves to savor a scrumptious stack of berry Belgian waffles and some iced coffee!


Which was a much needed respite from the two final sewing projects that turned out to be more than a little frustrating challenging than anticipated. But thanks to the incredible help of my mother-in-law, it looks like all will be completed tonight (hence the Wednesday reveal:). Trust me though, they will be so worth it when it's all said and done!


And because I've strung you along these past several weeks, I think you deserve a little teaser of what's to come, so here's your sneak peek:


Hopefully that will satisfy your palette until Wednesday! Hope your weekend was fabulous (and involved less pulling of your hair than mine;)!

Tuesday, August 2, 2011

A Rite of Passage

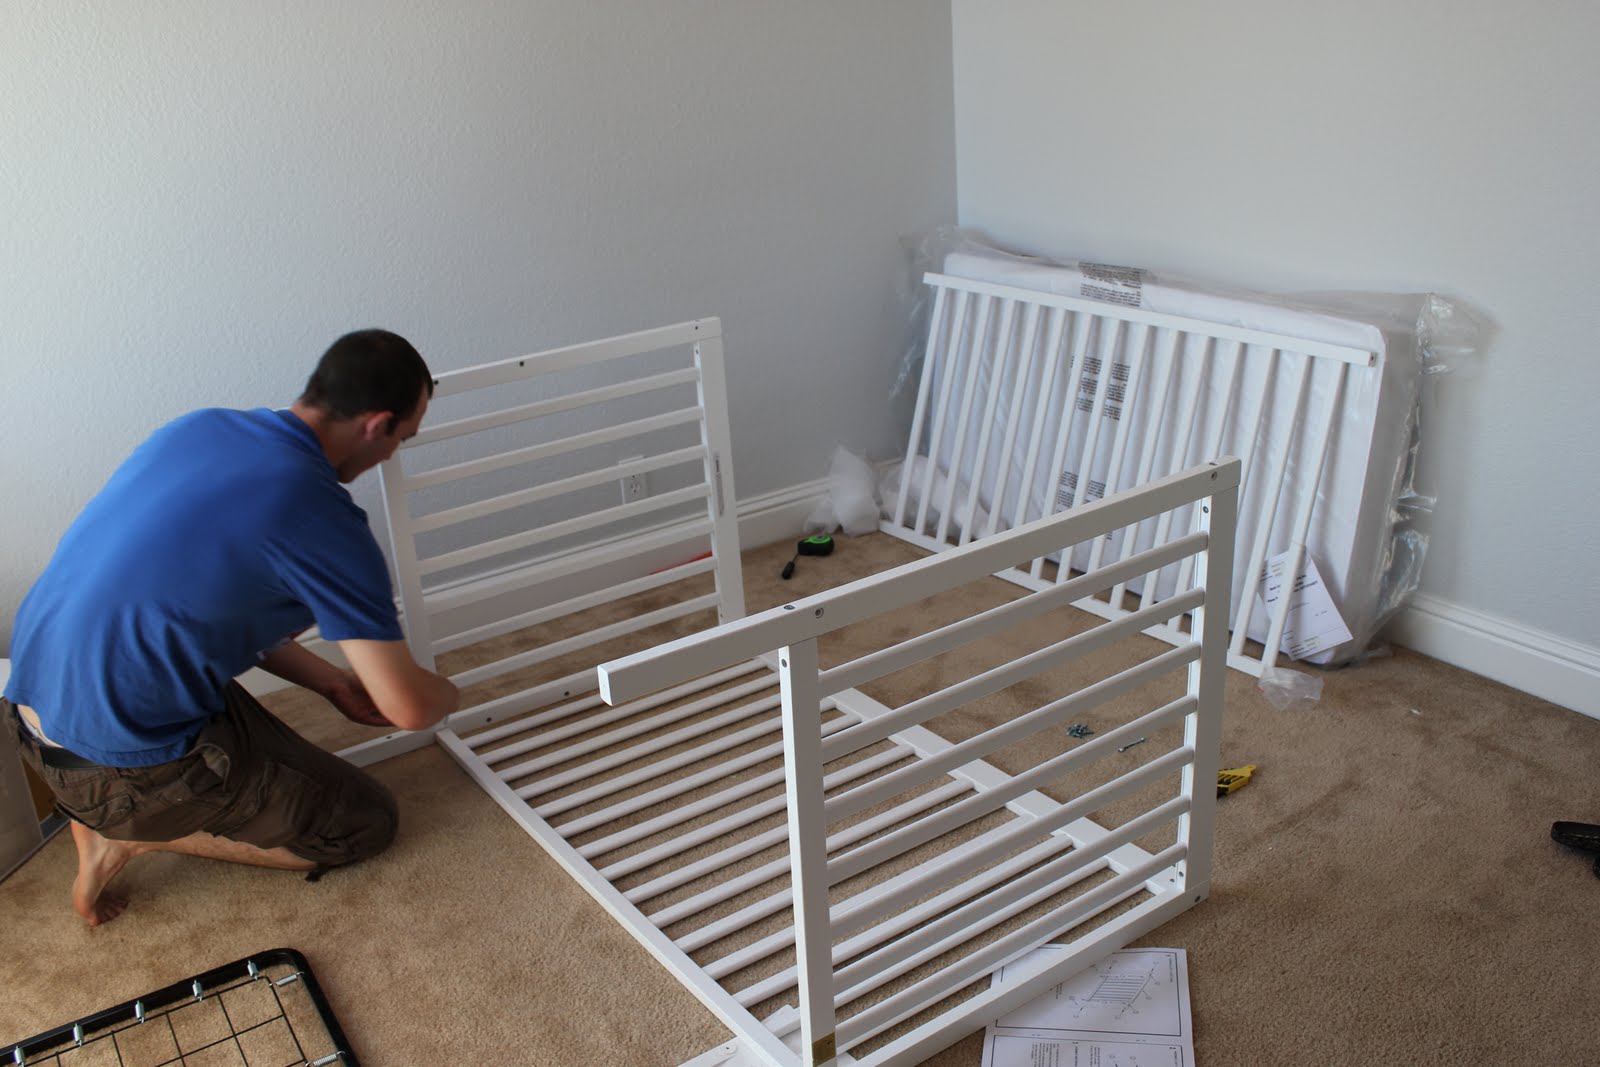
In the world of a dad-to-be, assembling baby's crib is a necessary rite of passage. And my handy husband pulled it off flawlessly!

With the help of his trusty side-kick (aka: our first-born canine child), they made sure every bolt and screw was fastened properly and everything was in its place.


Proud and absolutely adorable daddy-to-be!


And that, my friends, is your only sneak peek at the nursery until it's complete:) Though it hardly counts as a "peek" since nothing else was done at the time-hehe! Just a few weeks until completion, I promise!

Tuesday, July 19, 2011

One Frame, Two Ways

This little project started with an all too familiar trip to Goodwill a few months back. I was browsing the housewares when I spotted two hideous brass frames filled with two even more hideous prints. They were deplorable to say the least, but since the frames themselves were quite unique, I was sure they could be salvaged for something a little less, well, hideous! Especially since they were marked down 50% . 

Sadly, within a few weeks of purchasing them we bought our house and into the spare closet they went, completely forgotten about. Until a few weeks ago that is, when all things buried in the depths of the closet were discovered. It was then I knew exactly how I wanted to re-purpose them. I must thank my mom for convincing me not to put them back when I started second guessing my purchase!

So without further ado, I give you, my new earring holder and Baby Girl's hair pretty holder! I am beside myself giddy that one simple purchase was able to fulfill two crafts I've been dying to make!

{Of course, until Baby Girl gets her own hair pretties, mine will be proudly displayed}


And this couldn't have been simpler to put together! All you need to do this yourself is:

1 frame, any shape and size
1 can spray paint
Depending on the size frame, about 1-2 yards of pretty ribbon/lace
Hot glue gun

After gently popping out the glass and picture, I (actually, Chris) gave each frame a few even coats of white spray paint and waited 24 hours for them to dry. After picking out just the right ribbon and lace, I simply hot glued strips to the back of the frame, making sure each strip was pulled taut so there was no sag. After a few minutes, you're ready to load em' up!


Don't you love discovering treasure in your own mess?!

Wednesday, July 13, 2011

Nesting and Boppy Covers

Call it nesting to the tenth degree, but I spent last weekend purging, organizing and completely cleaning out our guest/craft room! All for the sake of having a clean room to complete the bazillion sewing projects I currently have on my list of things to make. With the insane amount of energy I've encountered lately, I figure I'll take advantage while it's here!

My first project was sewing my own Boppy cover. Since all the covers I was finding seemed crazy overpriced ($40-50 each!), I decided that making them myself was the route I wanted to take. Plus, I could customize with a fabric I loved!

With a little advice from my friend Taryn, who also went the DIY route, I was off to Joann's! And in a few short hours, I ended up with this:


Ahh, I LOVE this pretty combo of celery, blush and coral! It's so girly and chic!

 So glad I decided to make my own because not only was this a really simple project, but I saved a lot of money since I was armed with a few 40% off coupons for Joann's, which I constantly get in the mail!

p.s. - wouldn't these make a wonderful baby shower gift?!

For anyone interested in making your own Boppy cover, I used the Simplicity pattern 4225.

Here's the breakdown of what this little project cost me:

Nurture Nest Pillow insert: $17
3 yards of fabric: $18 (enough for 2 covers)
Piping: $5
3' velcro strip $.50
Total cost: $40.50

Next on my list: a nursing cover and burp cloths!
Related Posts Plugin for WordPress, Blogger...